Archive:
Normally, when I’m making stuff, I’ll spend the first few weeks on the three C’s – Character, Camera & Controls – then make a bunch of content to ensure that I’m happy with them. This time, for various reasons, I’ve decided to get the game fully scaffolded, super early doors. By that, I mean, do the full game flow from the main menu, through the levels, with appropriate intros, outros, and stats. So I'm doing UI work far earlier than I normally would.
Well, OK, I did make the Main Menu right at the start, but that was to get the look of the logo and fonts nailed, and I always have those at the start of a project... You can't make things with placeholder fonts! Ugh!
Anyway, that’s been the bulk of the work over the last couple of weeks. I’ve dropped Common UI in favour of Steve’s UI Helpers which have been working well, and allowed me to make fairly quick progress on the Level Details, Level Complete and Level Fail screens. I’ve done all the underlying code for the game flow, and you can enter a level, complete it, or let the timer run out and fail. I’ve also done the UI for the collectables and the timer, including transitions in and out. The only real thing missing, in game, is the pause screen, which I’ll probably do next week. Hurrah!
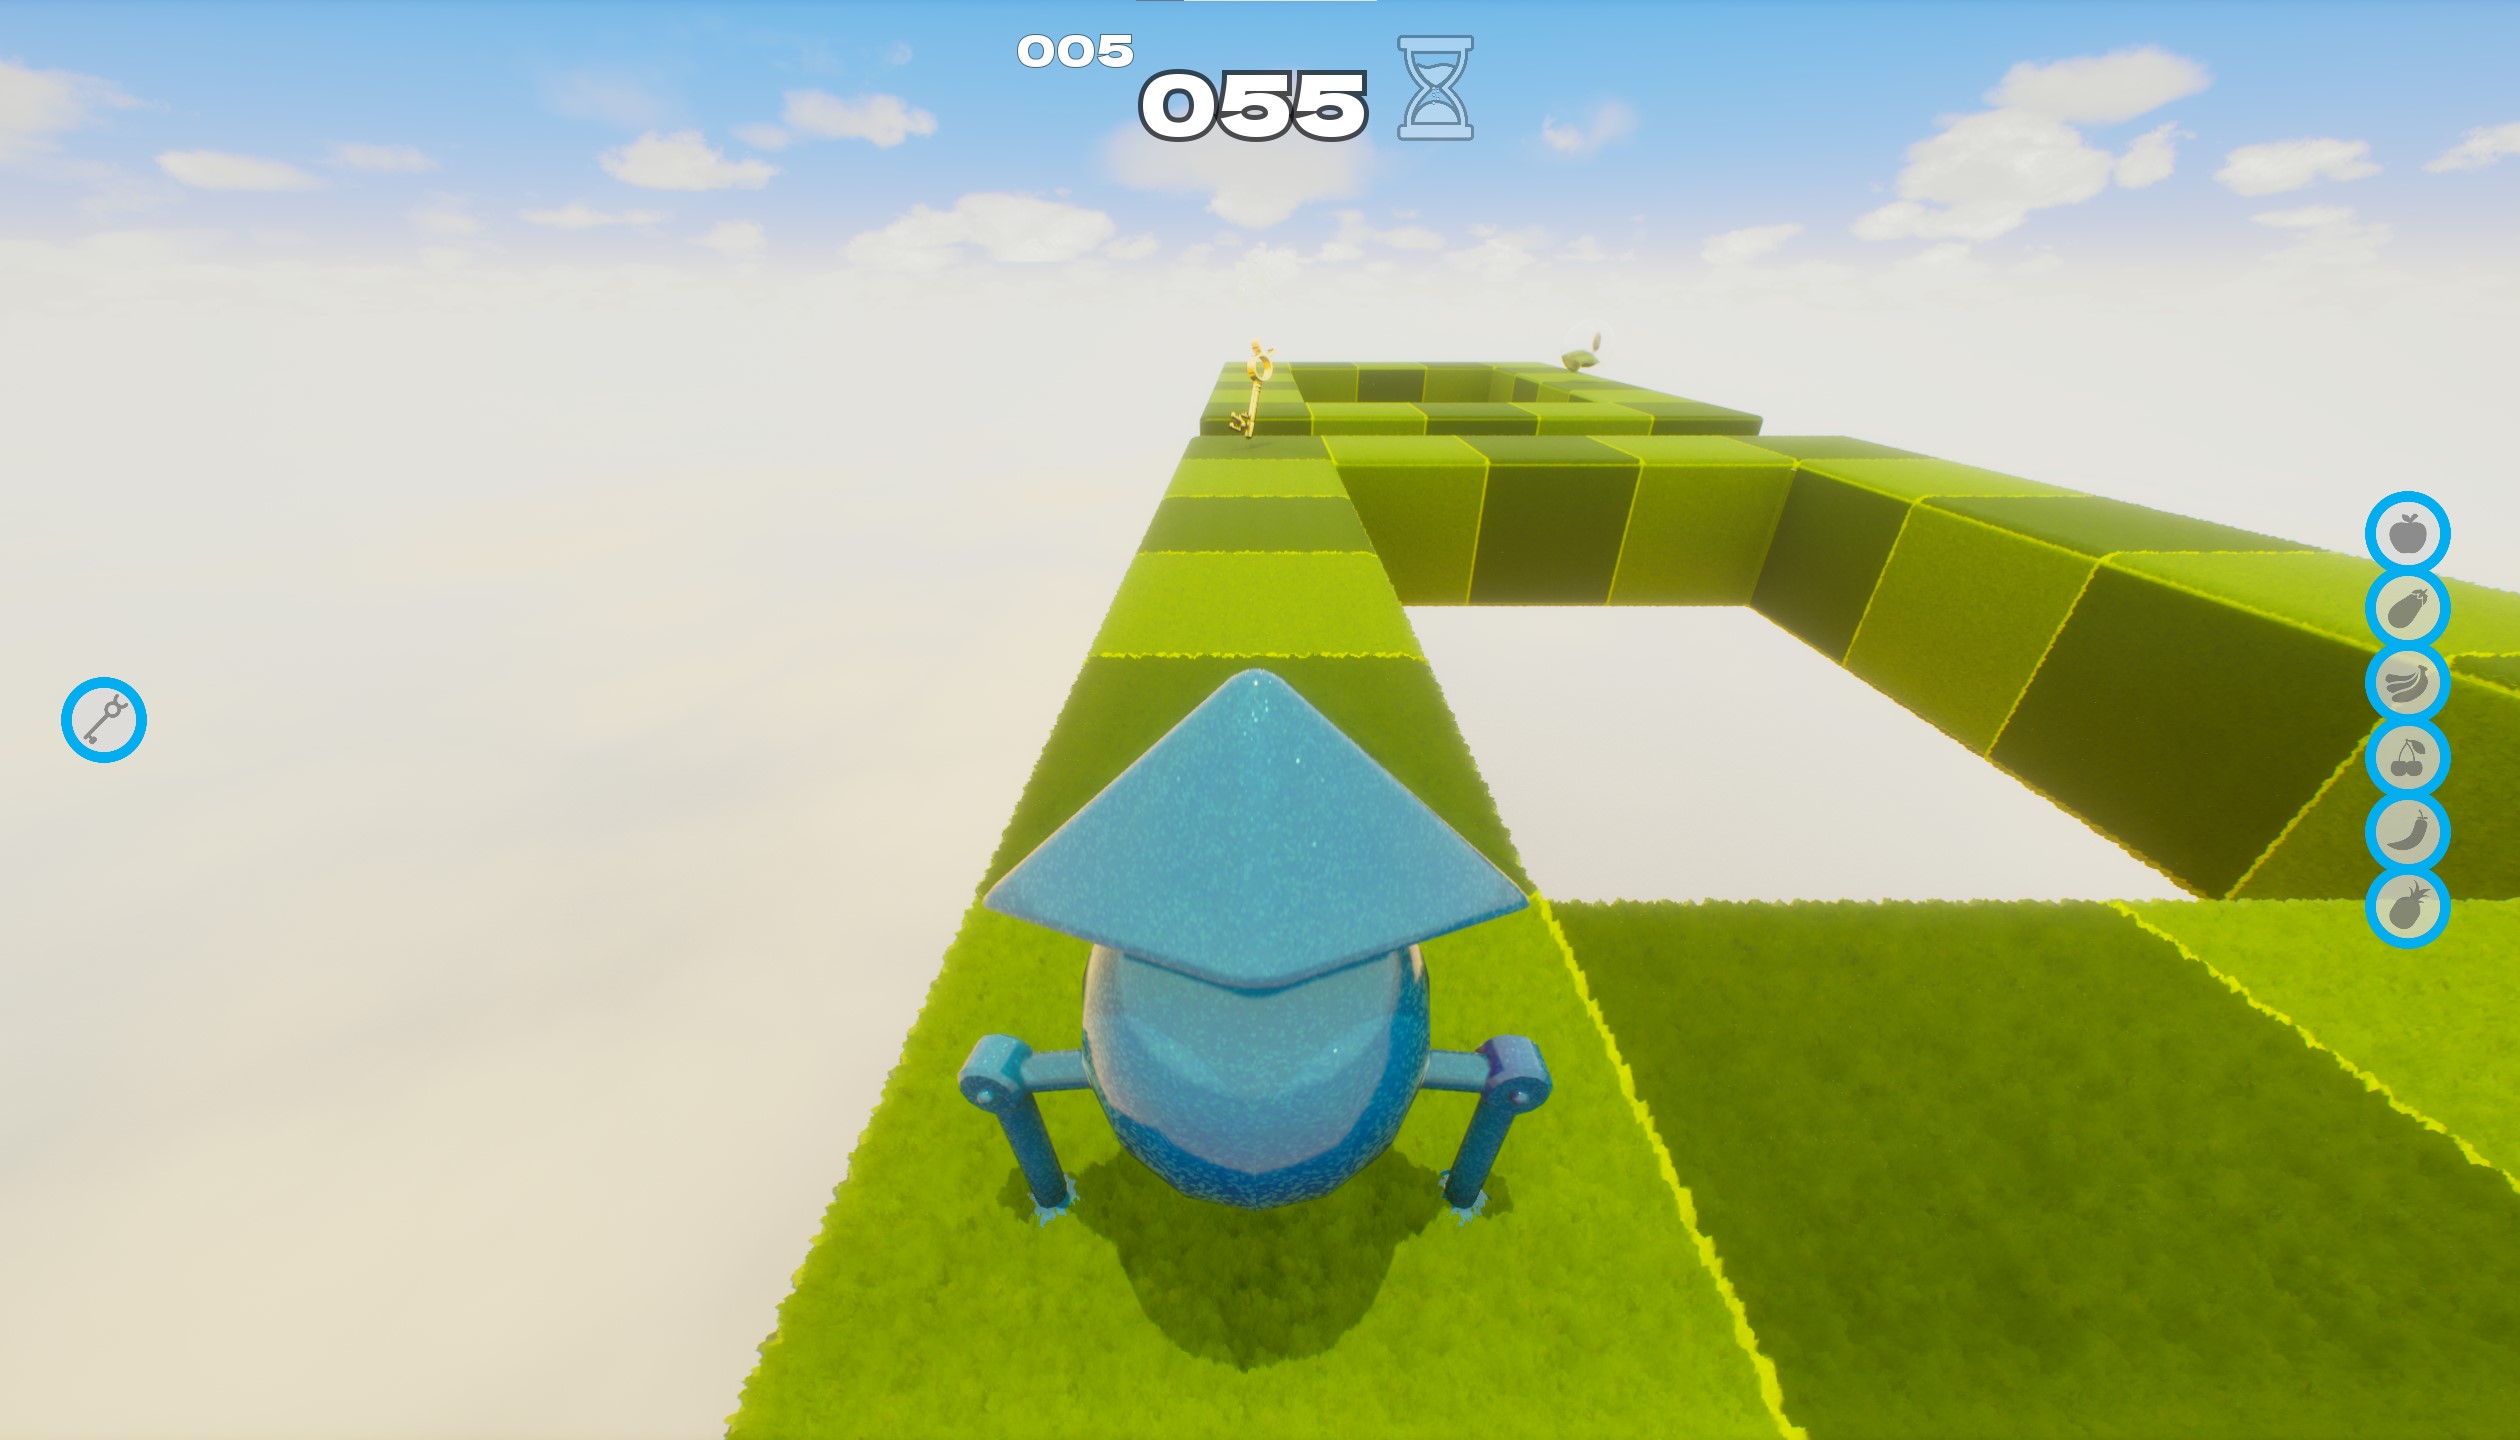
I had to make a couple of levels to test the game flow, so, while I was there, spent some time on the look and feel. The first biome is based on Sandy Whites, the final area in 2umo, but with the shiny dialed right up. Given the amount of bling, it seemed only right and proper to mess about with Nanite Displaced Meshes, the fancy new tessellation feature that’s been in UE5 for a while. The results ended up looking fantastic!
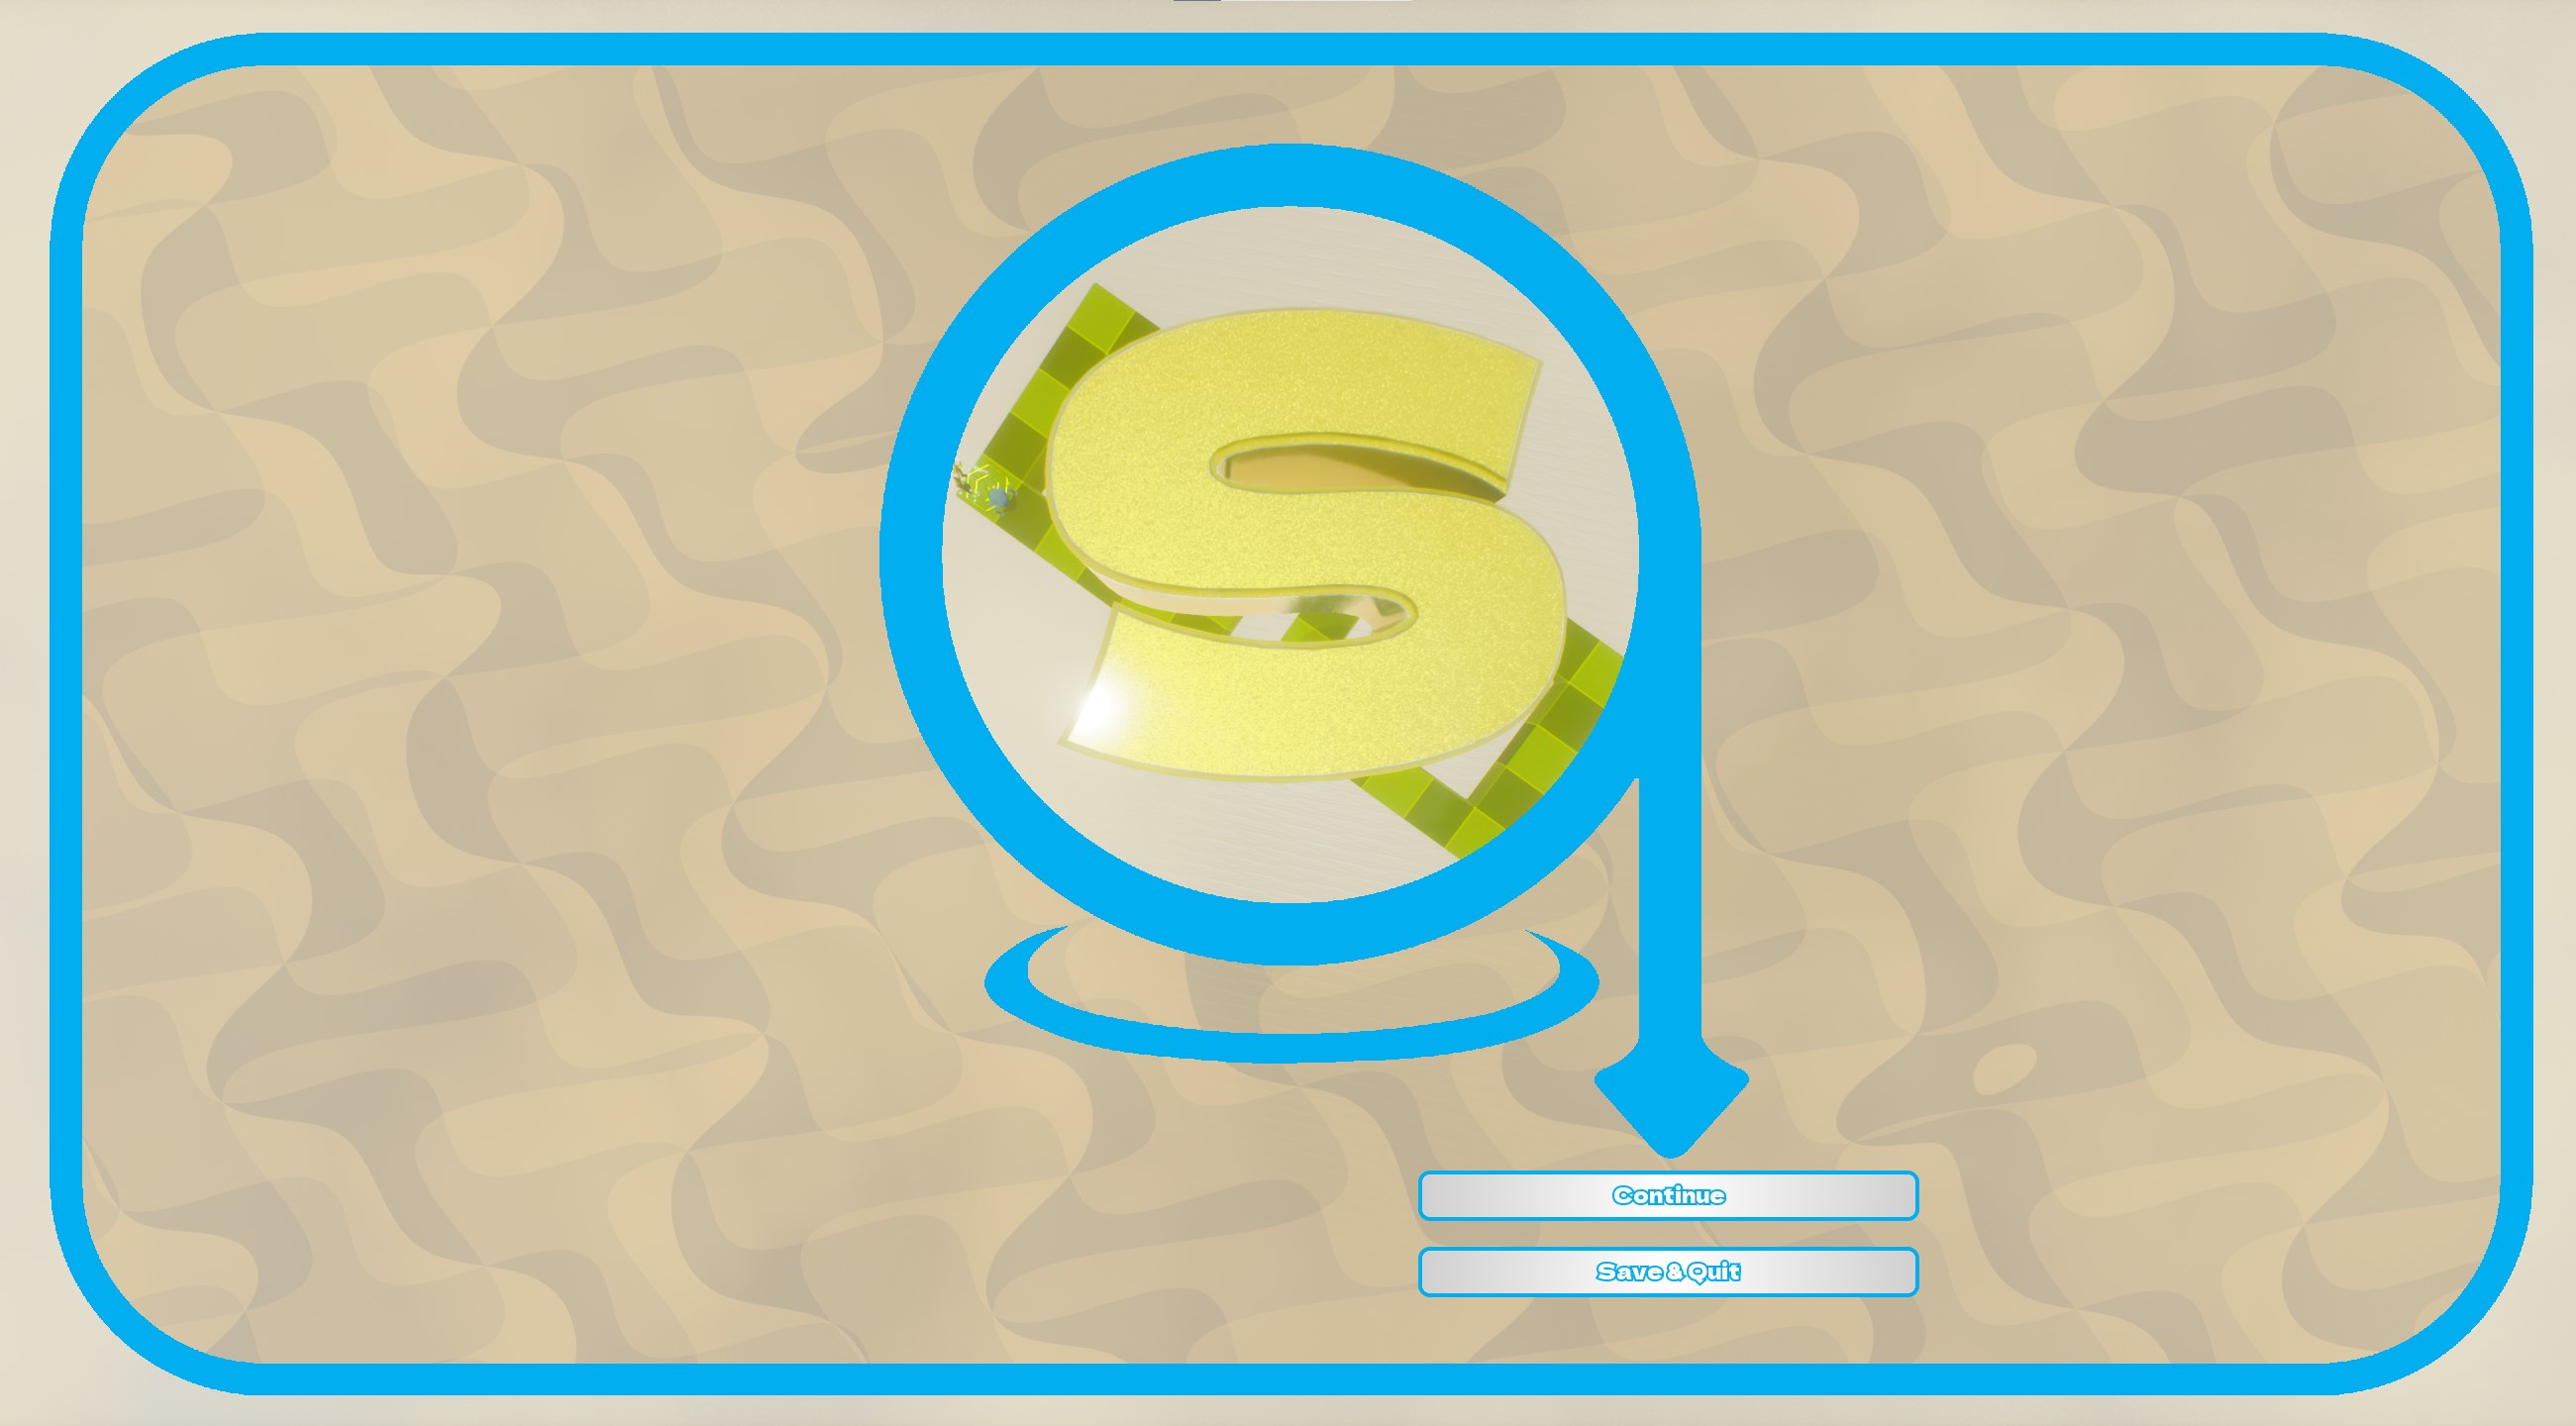
I’m trying to go to town on the amount of motion in the UI, especially as elements transition in and out. Not something I'd normally spend any real time on, but I think this game needs it to sell the Y2K aesthetic I've landed on.
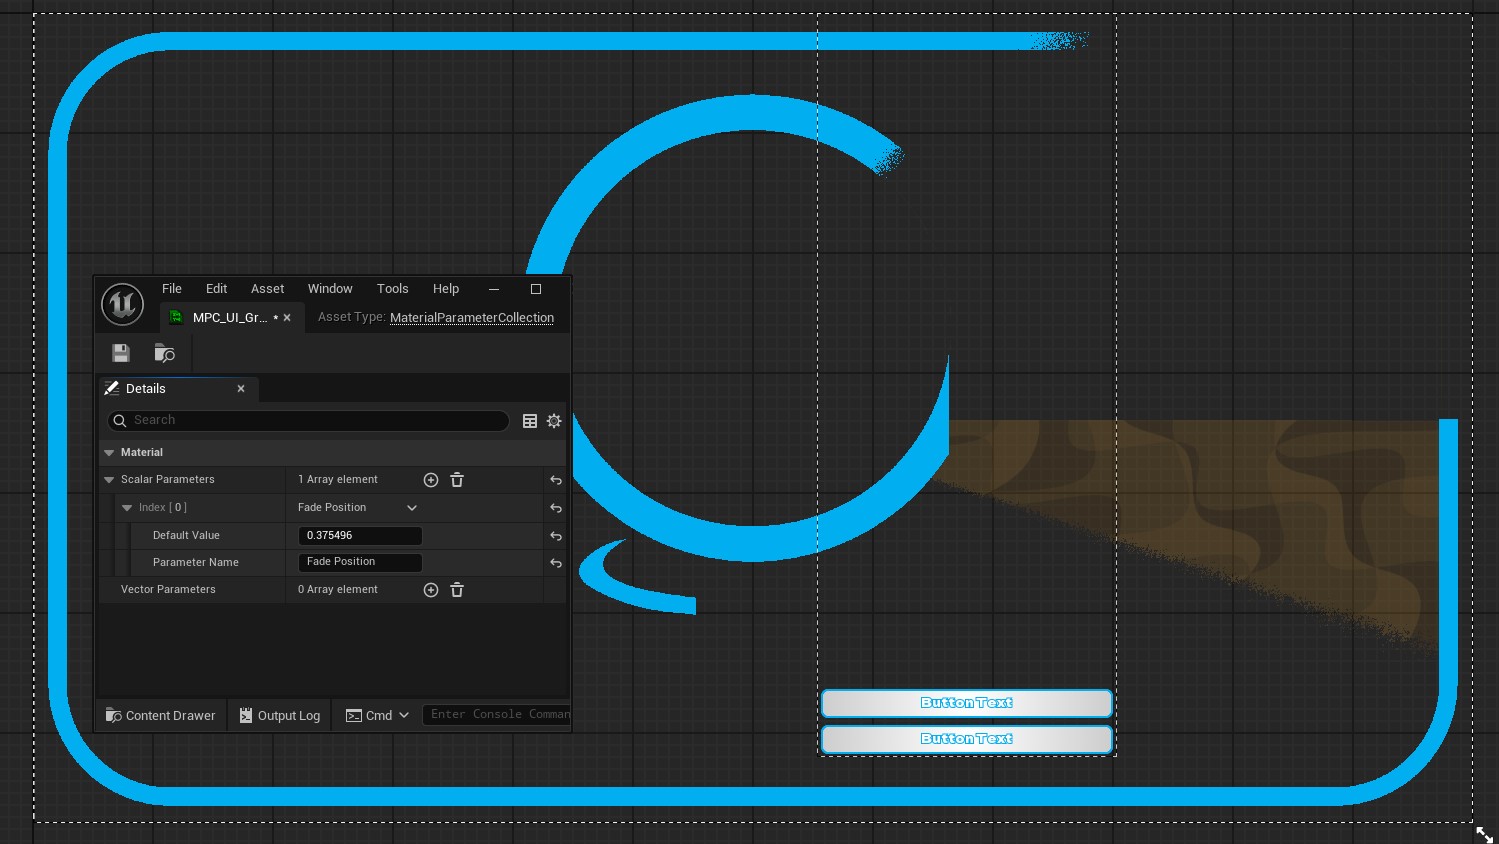
Unreal Engine’s UMG is great, but I actually ended up using a super old-school trick to bring the end of level UI elements in: Gradient Wipes.
The graphical elements are built as gradients, which a shader uses to mask the fill colour.
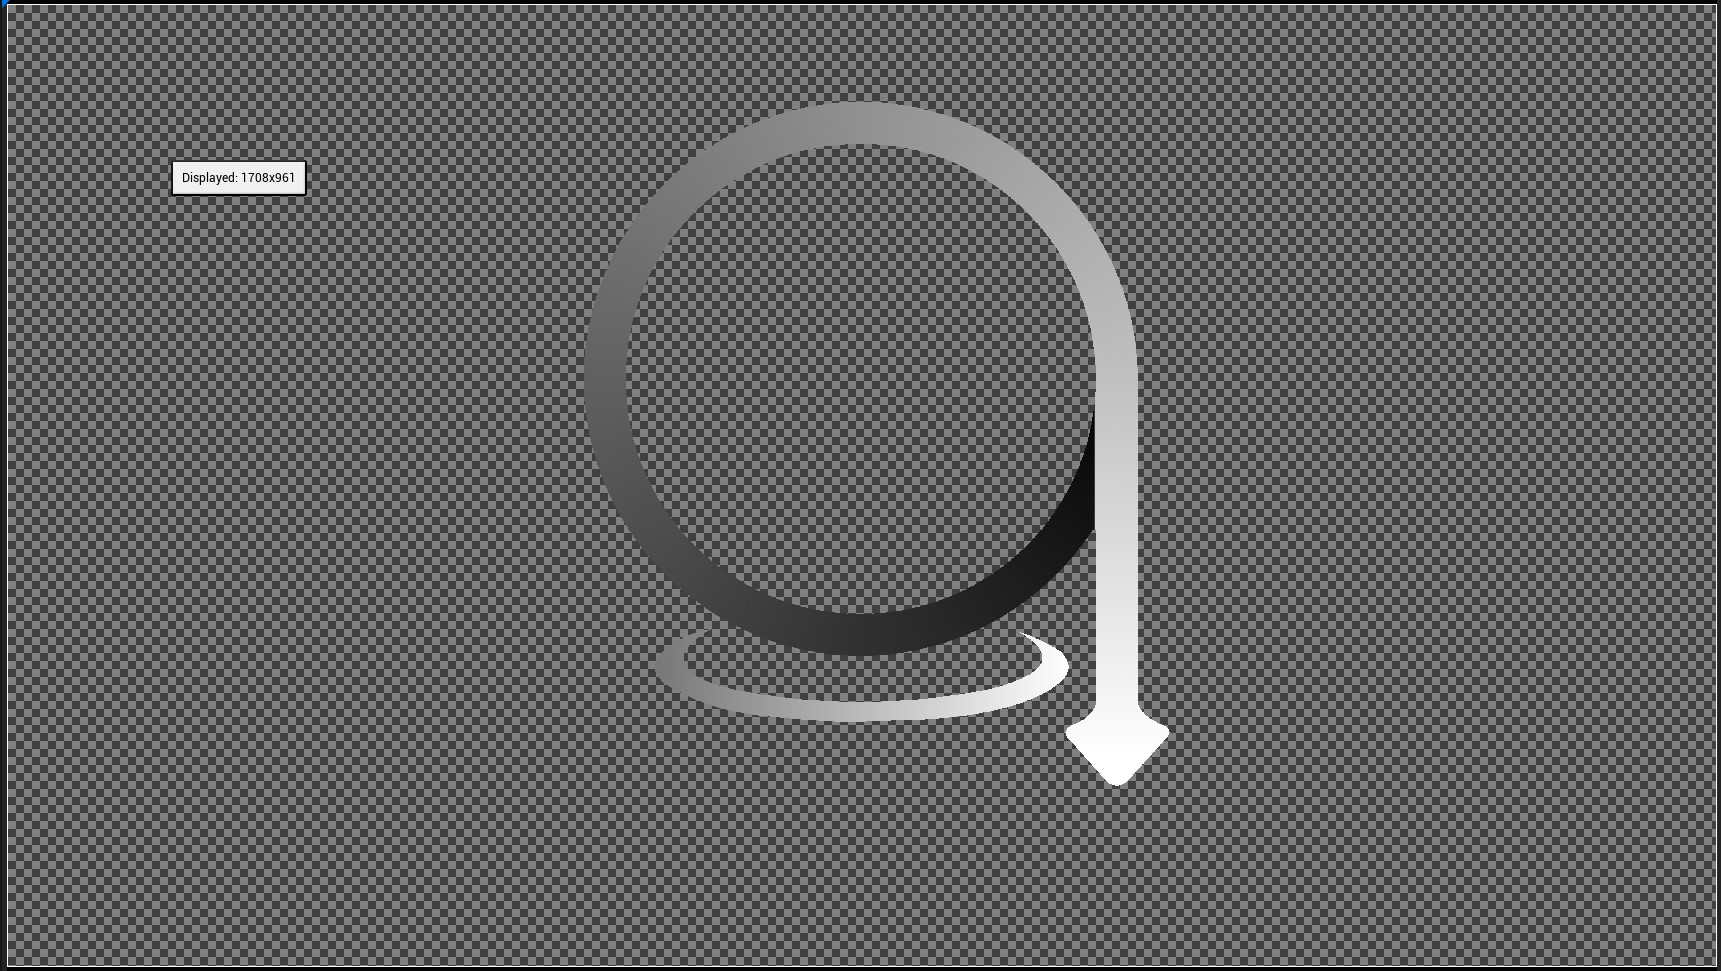
Lerping from 0 to 1 creates a wipe, that follows the direction of the gradient, bringing the UI elements in.

Super simple, and quite effective. The only downside is that you lose anti-aliasing, but at today’s resolutions that doesn’t really matter.
And of course, my level ranks have all the bling.
 Previous Post: "Clear Coat All The Things"
Buy My Stuff:
Source Code:
I'm slowly open sourcing as much of my code as possible. It's not generic — it was all written for a specific use-case, for specific games — but it could be useful, and it might spark a few ideas:
Friends:
If you like any of my work, please consider checking out some of the fantastic games made by the following super talented people: